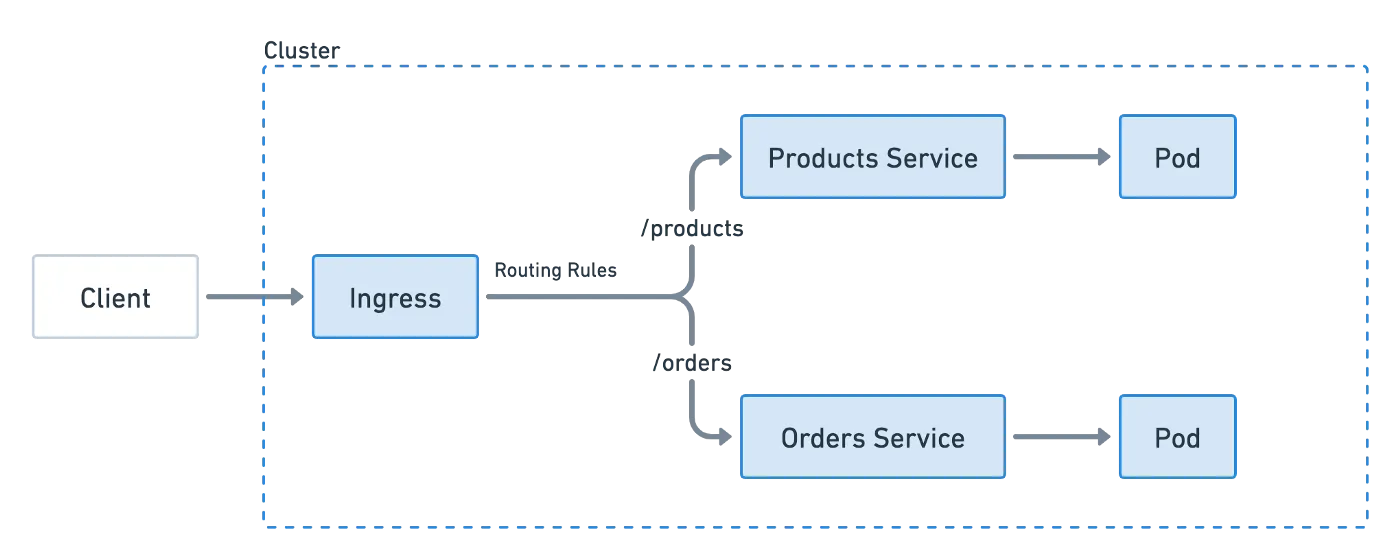
What is Prometheus & Grafana
-
Prometheus is an open-source monitoring and alerting toolkit designed to collect, store, and query metrics from various configured targets. Prometheus developed as a Cloud Native Computing Foundation (CNCF) graduated project, it is widely used for monitoring the performance and health of systems and applications in dynamic, modern infrastructures. It provides powerful capabilities for data visualization, alerting, and comprehensive observability.
-
Grafana is an open-source analytics and monitoring platform used to create, explore, and share interactive dashboards. It allows users to visualize and understand data from diverse sources, making it particularly valuable for monitoring and analytics purposes. Grafana supports various data sources, including databases, logs, and other monitoring systems. It is commonly used in conjunction with systems like Prometheus to enhance monitoring and visualization capabilities.
Introduction
 Monitoring applications in today’s world is crucial for maintaining their performance, availability, and reliability. To achieve this, tools like Prometheus and Grafana come into play as a dynamic duo, offering insights into app performance. Our journey begins with Dockerizing a MERN stack application. Then, we’ll dive into Prometheus and Grafana, revealing their magic in unlocking performance secrets. Join us as we harness these tools to elevate your MERN stack applications!
Todo Application
This Todo app streamlines task handling with user login, saving task to database, email notifications upon task creation, and a password recovery feature — source code
Step 1 — Clone the Repository
1.1 Open your terminal and use the following command to clone repository.
git clone https://github.com/sentinelfoxinc/mern-todo-app
cd mern-todo-app  #Navigate to the project directory
Step 2: Creating Dockerfiles
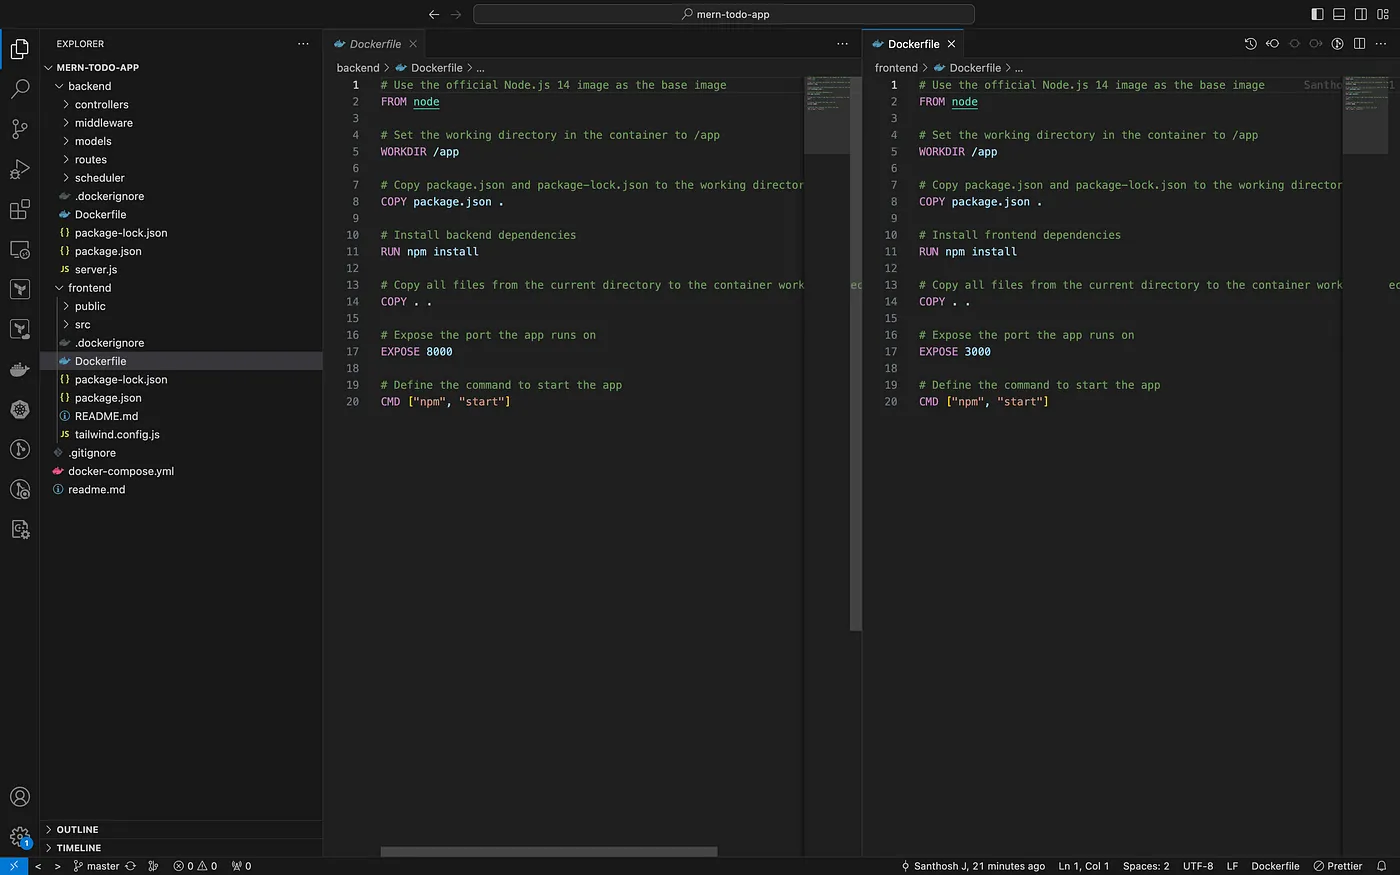
2.1 Create Dockerfile for Backend and Frontend:
Inside the root path of both the backend and frontend folders, create a new file named Dockerfile . Paste the Following Code in the Dockerfile (Backend)
# Use the official Node.js 14 image as the base image
FROM node

# Set the working directory in the container to /app
WORKDIR /app

# Copy package.json and package-lock.json to the working directory
COPY package.json .

# Install backend dependencies
RUN npm install

# Copy all files from the current directory to the container working directory
COPY . .

# Expose the port the app runs on
EXPOSE 8000

# Define the command to start the app
CMD ["npm", "start"]
2.3 Paste the Following Code in the Dockerfile (Frontend):
# Use the official Node.js 14 image as the base image
FROM node

# Set the working directory in the container to /app
WORKDIR /app

# Copy package.json and package-lock.json to the working directory
COPY package.json .

# Install frontend dependencies
RUN npm install

# Copy all files from the current directory to the container working directory
COPY . .

# Expose the port the app runs on
EXPOSE 3000

# Define the command to start the app
CMD ["npm", "start"]
Step 3: Creating .dockerignore Files
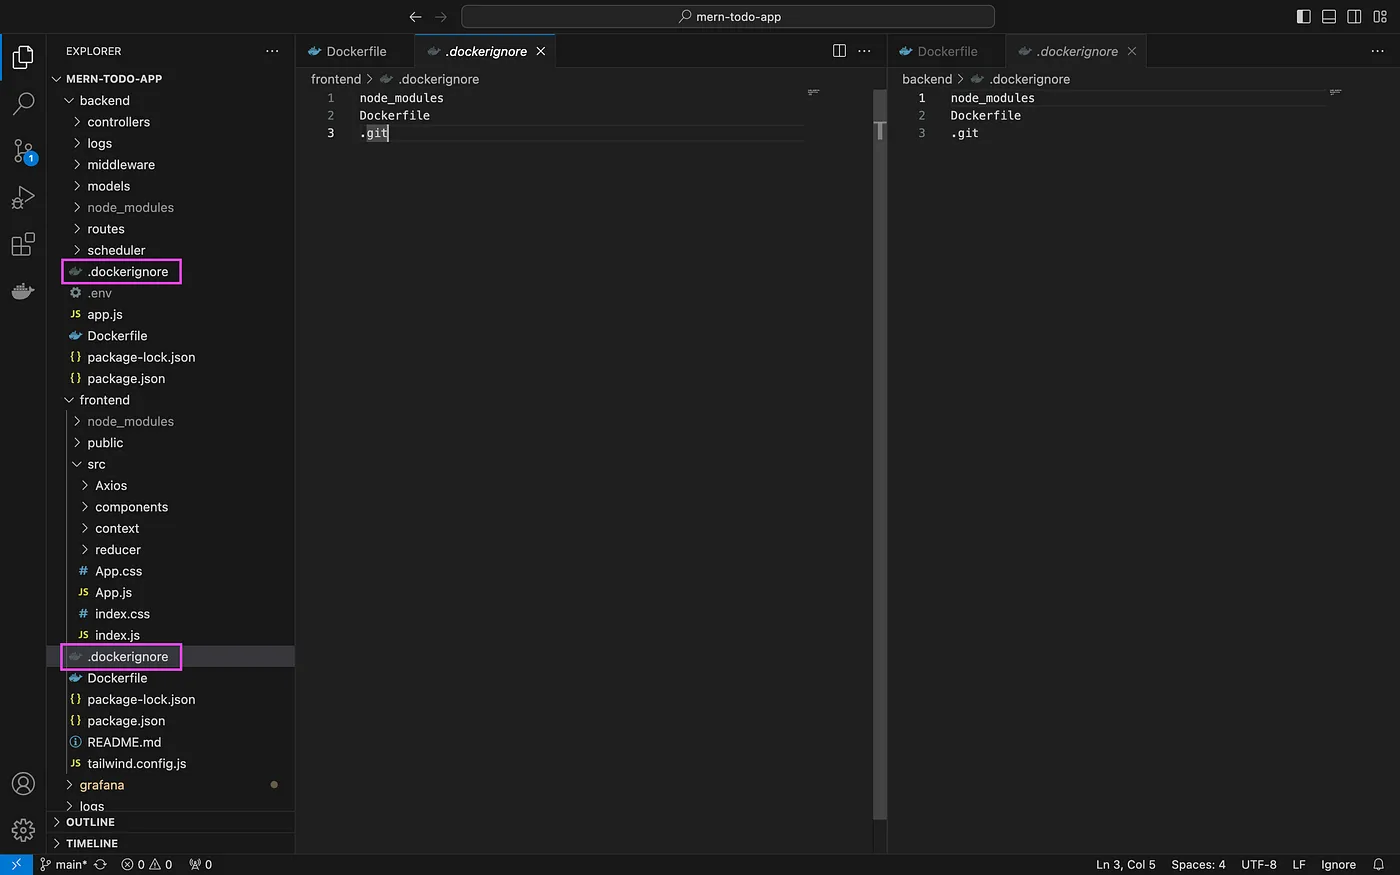
3.1 Create .dockerignore Files:
Creating a .dockerignore file is crucial because it will Reduce Image Size Excluding node_modules speeds up image building by avoiding unnecessary files. Within the root path of both the backend and frontend folders, create a new file named .dockerignore. Paste the Following Code
node_modules
Dockerfile
.git
Step 4: Creating Docker Compose File
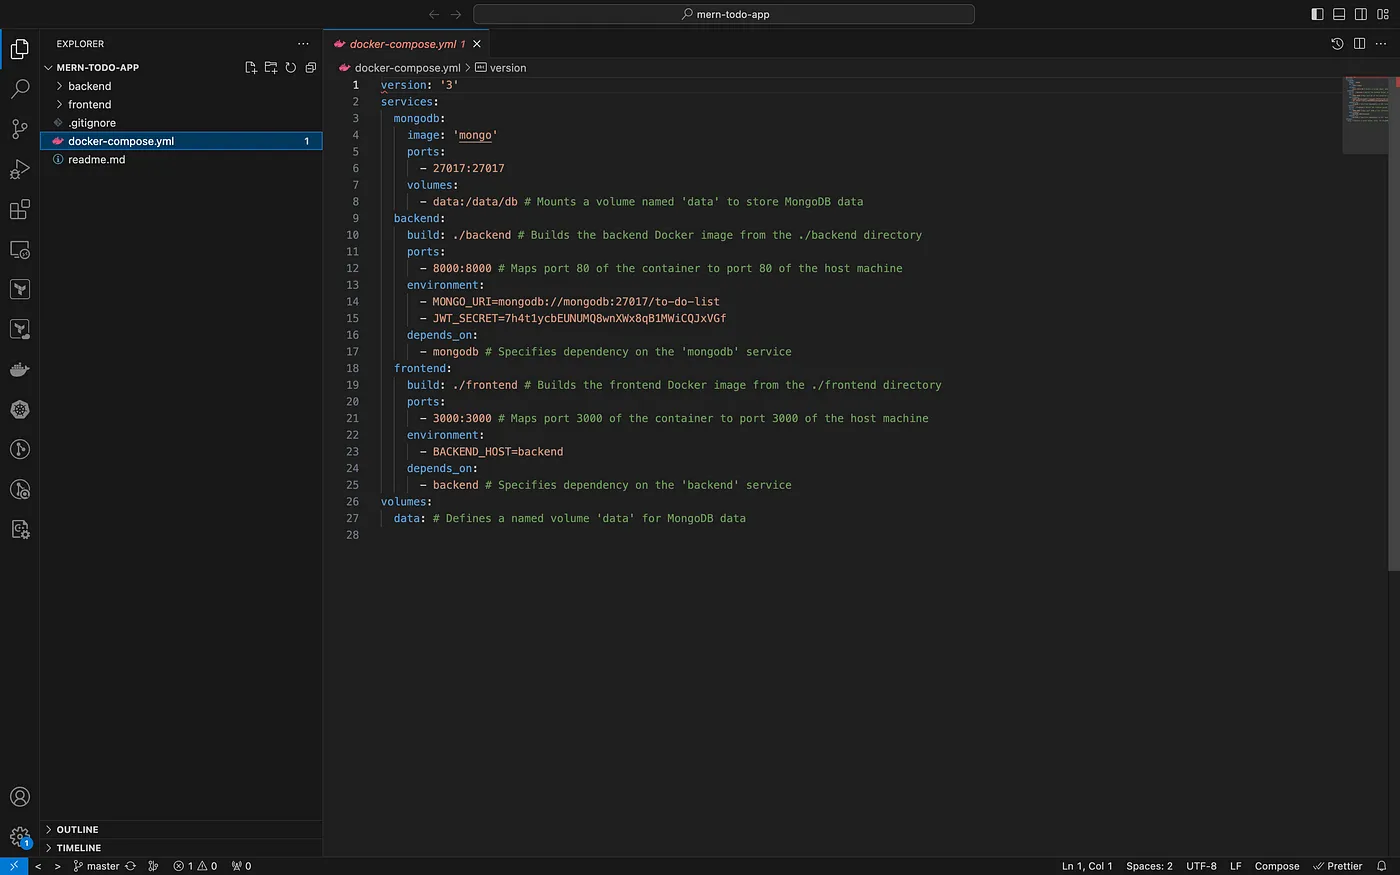
4.1 Create a docker-compose.yaml File:
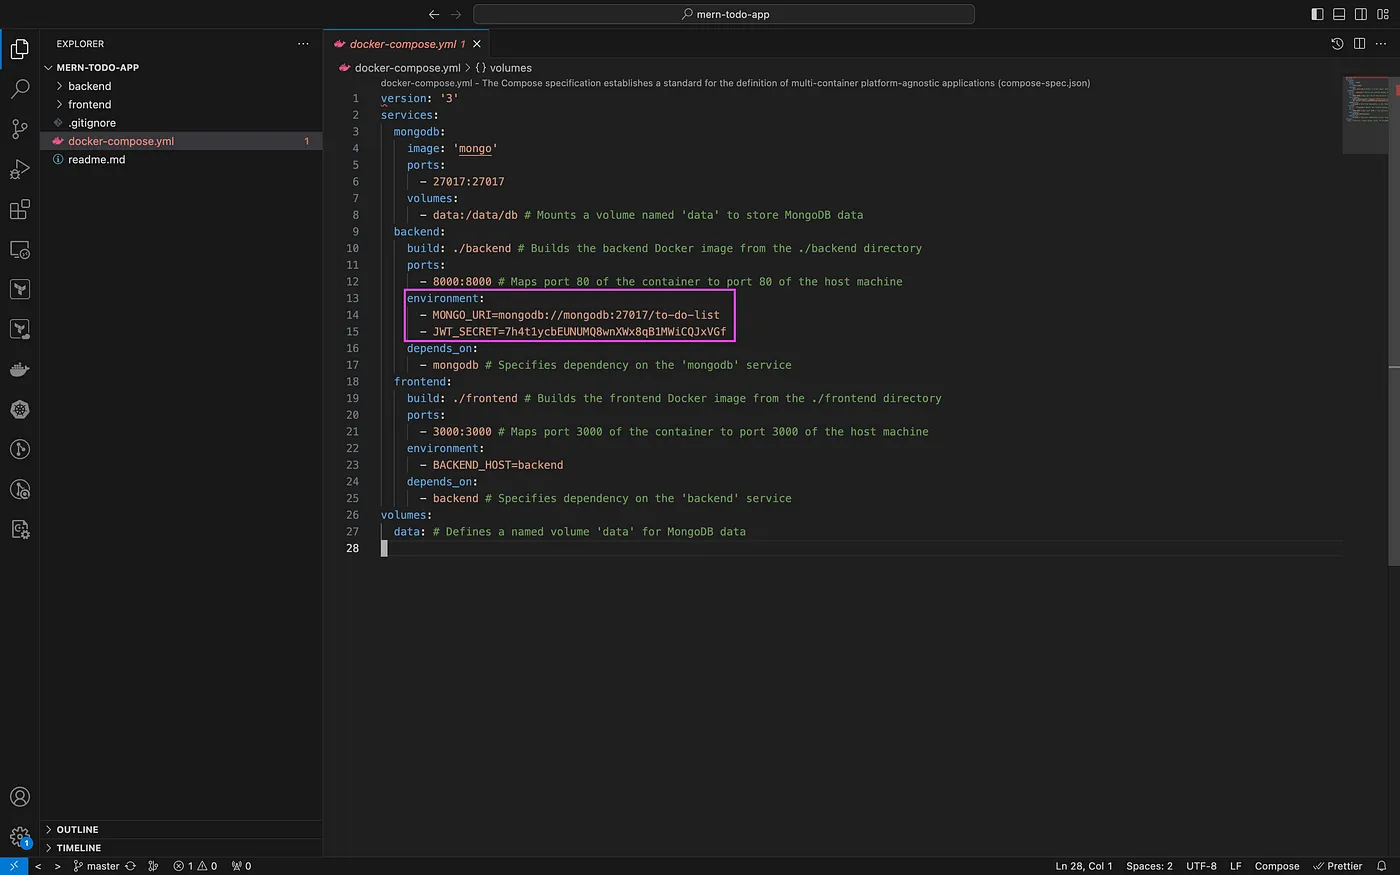
Inside the root path of your main folder (where your backend and frontend folders are located), create a new file named docker-compose.yaml. Paste the Following Code
version: '3'
services:
  mongodb:
    image: 'mongo'
    ports:
      - 27017:27017
    volumes:
      - data:/data/db # Mounts a volume named 'data' to store MongoDB data
  backend:
    build: ./backend # Builds the backend Docker image from the ./backend directory
    ports:
      - 8000:8000 # Maps port 80 of the container to port 80 of the host machine
    environment:
      - MONGO_URI=mongodb://mongodb:27017/to-do-list
      - JWT_SECRET="7h4t1ycbEUNUMQ8wnXWx8qB1MWiCQJxVGf"
    depends_on:
      - mongodb # Specifies dependency on the 'mongodb' service
  frontend:
    build: ./frontend # Builds the frontend Docker image from the ./frontend directory
    ports:
      - 3000:3000 # Maps port 3000 of the container to port 3000 of the host machine
    environment:
      - BACKEND_HOST=backend
    depends_on:
      - backend # Specifies dependency on the 'backend' service
volumes:
  data: # Defines a named volume 'data' for MongoDB data
Step 5: Setting Environment Variables for Backend Service
5.1 Using Docker Compose:
Open the docker-compose.yml file.
5.2 Add Environment Variables to the Backend Service:
Within the backend service configuration, add an environment section to set environment variables.
environment:
  - MONGO_URI=mongodb://mongo:27017/to-do-list
  - JWT_SECRET=a_random_secret_key_eg_thisisasecretkey
Note : Replace ( Your_random_secret_key) with your actual values for JWT secret key.
Step 6: Starting Containers with Docker Compose.
6.1 Open Terminal & Ensure You’re in the Project Directory:
Verify that the terminal is already pointing to the directory where your docker-compose.yaml file is located. If not, navigate to the correct directory using the terminal. For example:
cd /Users/Sf/Downloads/mern-todo-app-master
6.2 Start Containers Using Docker Compose:
docker-compose up #Run the following command in the terminal
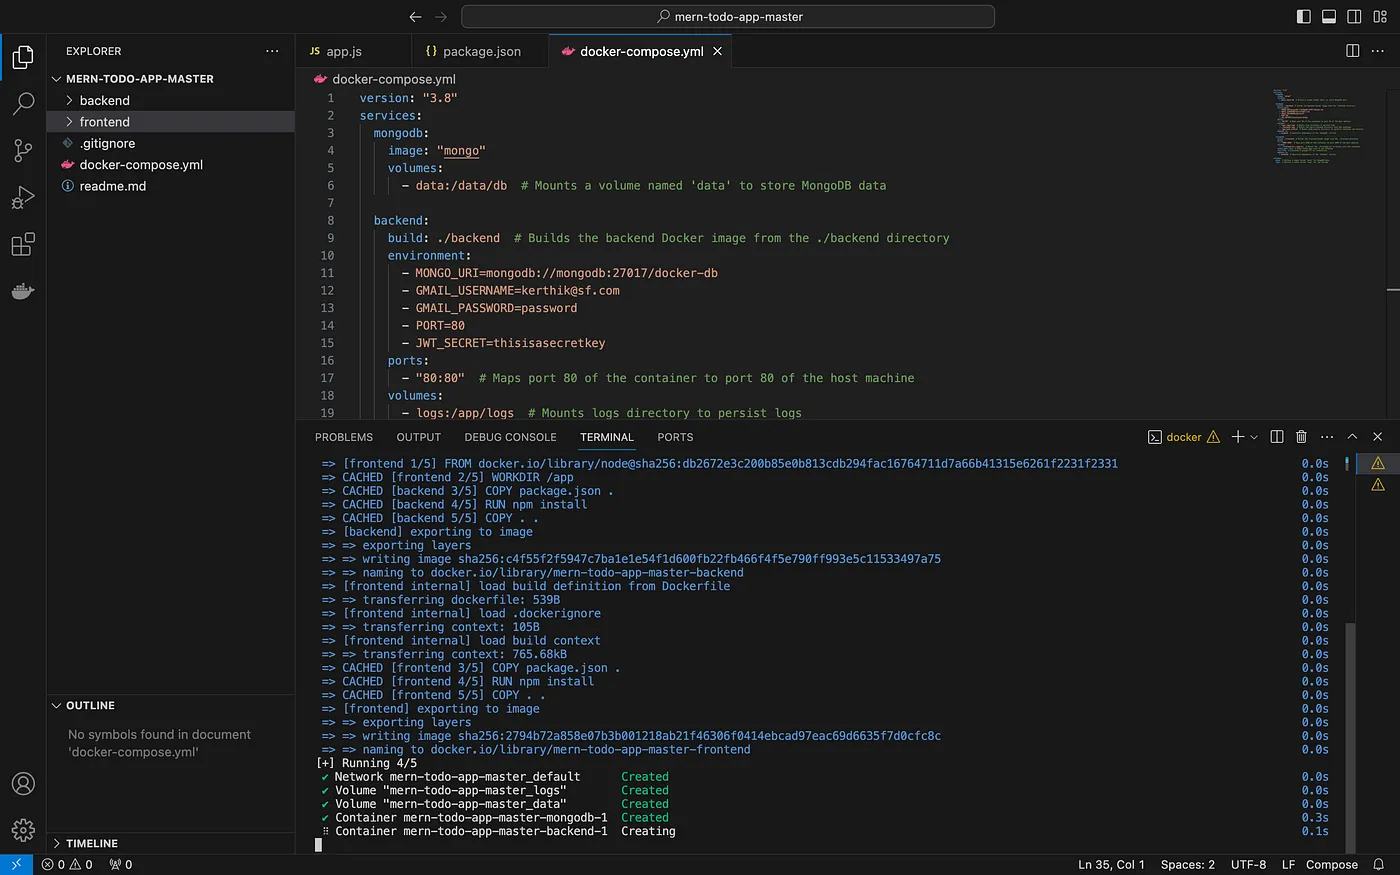
6.3 Once your docker-compose up command completes execution, you can view the running Docker containers by using the following command:
docker ps -a

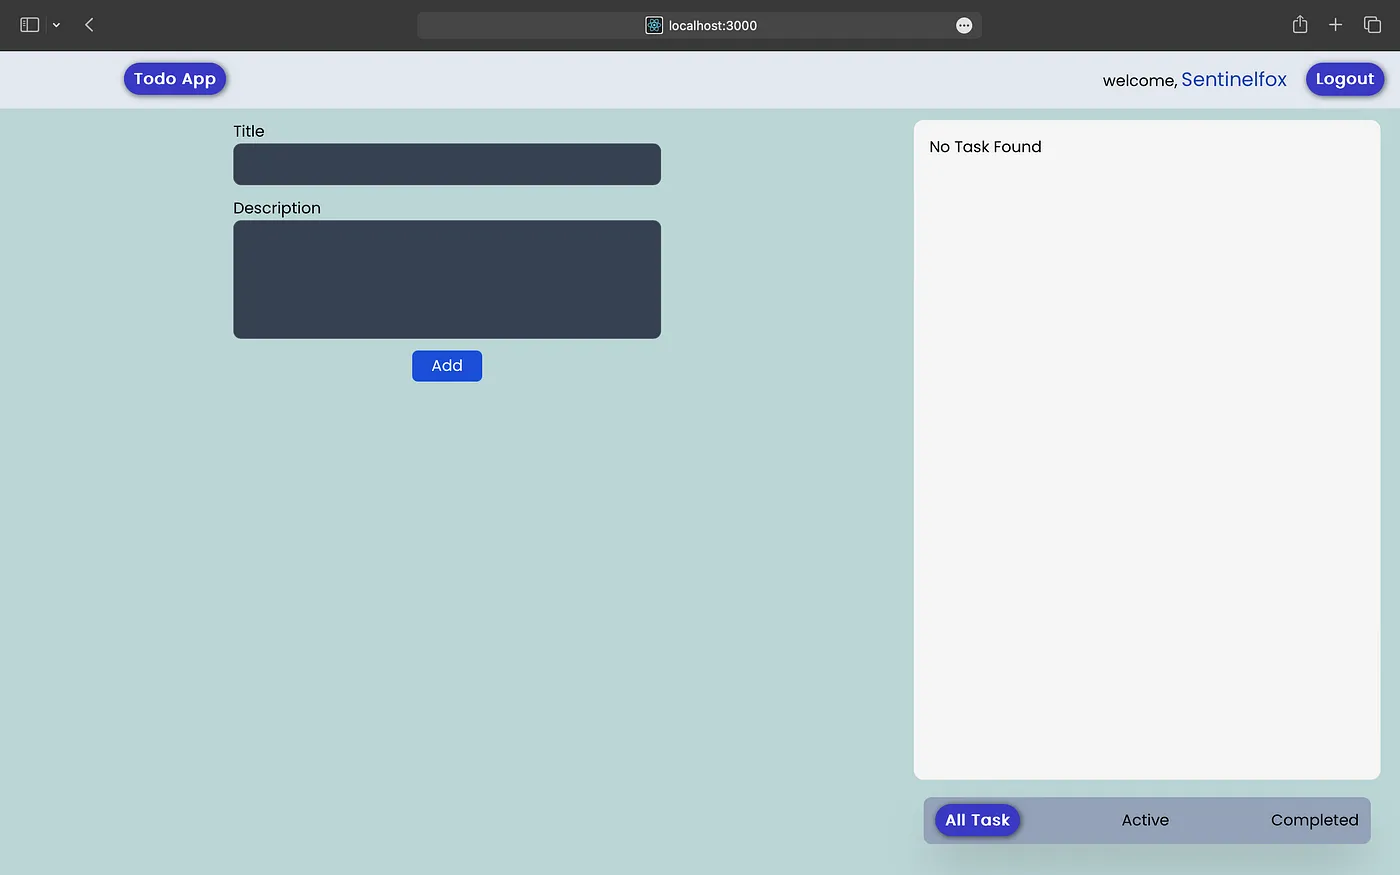
To access your frontend application, navigate to http://localhost:3000 in your web browser.
Conclusion
In this tutorial, we gained insights into leveraging Docker for packaging our MERN application, ensuring its seamless functionality across diverse environments. Moving forward, our next objective involves integrating Prometheus and Grafana. These tools will enhance the performance of our applications, enabling us to identify and address potential issues before they become apparent to our customers.

